Docker. Why bother?
Back in the day, when I wrote apps in C/C++, I compiled the code into an executable for shipping. When we code in Python, how do we ship code?
We could simply send our code to the customer to run it on their machine. But the environment in which our code would run at the customer’s end would almost never be identical to ours. Small differences in environment could mean our code doesn’t run and debugging such issues is a colossal waste of time, not to mention repeating the process for every customer.
But there is a better way and that is Docker!
Microservice Web-Crawling Spider

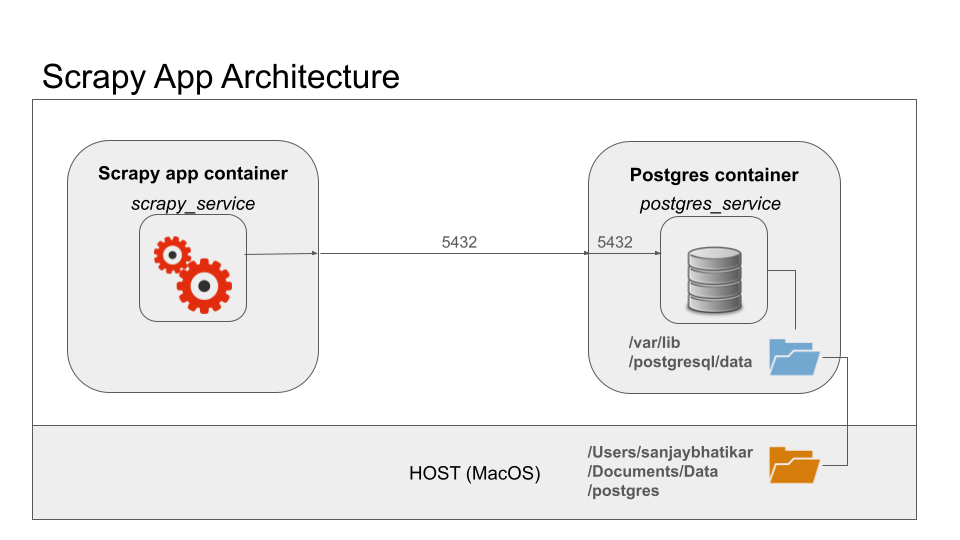
Here is a microservice I built that was part of a larger app. It has a spider that crawls multiple web domains for content that it scrapes and puts into a Postgres warehouse. I built out the spider in Scrapy framework in Python 3 and used the psycopg2 client for database CRUD operations.
Shipping the code means replicating the environment on the machine where it will run. In the process, small changes may creep up. The version of Python or its dependencies may differ. The version of Postgres may also differ. The devil lies in details! Small differences can throw a spanner in the works. That is why, shipping code in this manner is not recommended.
Instead, dockerize the app!
Ship It With Docker Encapsulate Code for Cross-Platform Deployment
Let’s start by dockerizing the Postgres warehouse. The steps are pulling the docker image from docker hub and then spinning up the container!
Pull the image like so: docker pull postgres
Then spin up the container like so: docker run --name postgres_service --network scrappy-net -e POSTGRES_PASSWORD=topsecretpassword -d -p 5432:5432 -v /Your/path/to/volume:/var/lib/postgresql/data postgres
This command not only launches the container but also connects it to the Docker network for seamless communication among containers. (Refer this blogpost.) Additionally, it ensures data persistence by sharing a folder between the host machine and the container.
Let’s break down the docker run command into its constituent parts:
docker run: This is the command used to create and start a new container based on a specified image.--name postgres_service: This flag specifies the name of the container. In this case, the container will be named “postgres_service”.--network scrappy-net: This flag specifies the network that the container should connect to. In this case, the container will connect to the network named “scrappy-net”.-e POSTGRES_PASSWORD=topsecretpassword: This flag sets an environment variable within the container. Specifically, it sets the environment variablePOSTGRES_PASSWORDto the valuetopsecretpassword. This is typically used to configure the containerized application.-d: This flag tells Docker to run the container in detached mode, meaning it will run in the background and won’t occupy the current terminal session.-p 5432:5432: This flag specifies port mapping, binding port 5432 on the host machine to port 5432 in the container. Port 5432 is the default port used by PostgreSQL, so this allows communication between the host and the PostgreSQL service running inside the container.-v /Your/path/to/volume:/var/lib/postgresql/data: This flag specifies volume mapping, creating a persistent storage volume for the PostgreSQL data. The format is-v <host-path>:<container-path>. In this case, it maps a directory on the host machine (specified by/Your/path/to/volume) to the directory inside the container where PostgreSQL stores its data (/var/lib/postgresql/data). This ensures that the data persists even if the container is stopped or removed.postgres: Finally,postgresspecifies the Docker image to be used for creating the container. In this case, it indicates that the container will be based on the official PostgreSQL image from Docker Hub.
Code Contained Make Container From Code With Dockerfile
For creating a container from own code – Python scripts and dependencies, there are a few steps. The first step is creating a dockerfile. The dockerfile for our Scrapy app looks like so:
	# Use the official Python 3.9 image
FROM python:3.9

# Set the working directory in the container
WORKDIR /app

# Copy the current directory contents into the container at /app
COPY . /app

# Install required dependencies
RUN pip install --no-cache-dir -r requirements.txt

# Set the entry point command for running the Scrapy spider
ENTRYPOINT ["scrapy", "crawl", "spidermoney"]
This Dockerfile automates the process of building the image and running the container. It ensures that the container has all the necessary dependencies to execute the Python app.
Let’s break down each line of the Dockerfile:
FROM python:3.9: This instruction specifies the base image to build upon. It tells Docker to pull the Python 3.9 image from the Docker Hub registry. This image will serve as the foundation for our custom image.WORKDIR /app: This instruction sets the working directory inside the container to/app. This is where subsequent commands will be executed, and it ensures that any files or commands are relative to this directory.COPY . /app: This instruction copies the contents of the current directory on the host machine (the directory where the Dockerfile is located) into the/appdirectory within the container. It is a common practice to place the dockerfile in the project directory at the top level, for including application code and files inside the Docker image.RUN pip install --no-cache-dir -r requirements.txt: This instruction runs thepip installcommand inside the container to install the Python dependencies listed in therequirements.txtfile. The--no-cache-dirflag ensures that pip doesn’t use any cache when installing packages, which can help keep the Docker image smaller.ENTRYPOINT ["scrapy", "crawl", "spidermoney"]: This instruction sets the default command to be executed when the container starts. It specifies that thescrapy crawl spidermoneycommand should be run. This command tells Scrapy, a web crawling framework, to execute a spider named “spidermoney”. When the container is launched, it will automatically start executing this command, running the Scrapy spider.
The dockerfile is a recipe. The steps to prepare the dish are as follows:
- Build the image with
docker build -t scrapy-app .. The dockerfile is a series of instructions to build a docker image from. The build process downloads the base layer and adds a layer with every instruction. Thus, layer by layer, a new image in constructed which has everything needed to spin up a container that runs the app. - Spin up the app with the
docker runcommand. For example:docker run --name scrapy_service --network scrappy-net -e DB_HOST=postgres_service scrapy-app. This command creates container named ‘scrapy_service’ from the image ‘scrapy-app’ and connects it to the network ‘scrappy-net’. The name of the container running Postgres is passed as an environment variable with-eflag to configure the app to work with the database instance.
Pushmi-Pullyu Push to and Pull From Hub

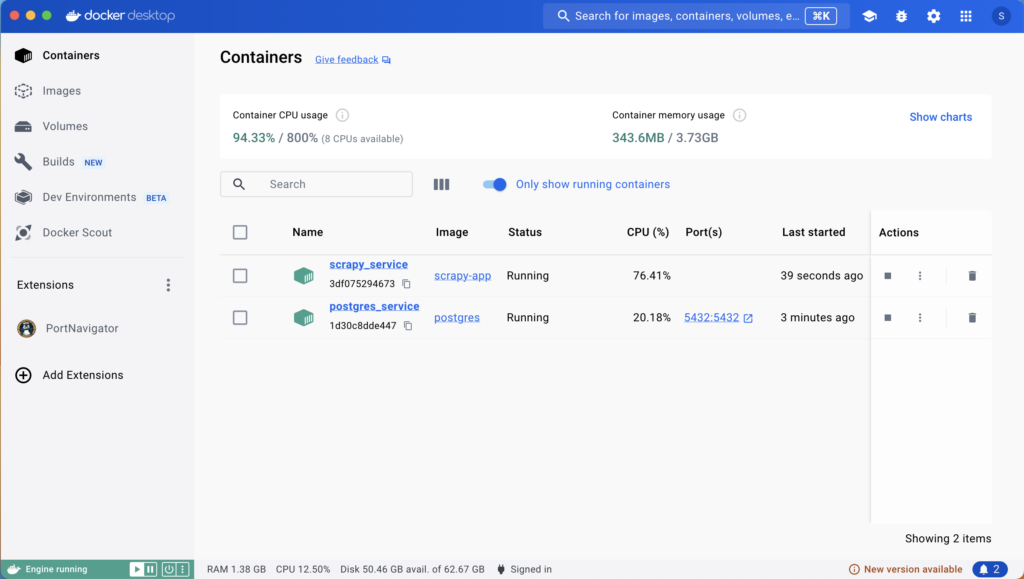
Once the microservice is containerized, launching it is as simple as starting the containers. Start the Postgres container first, followed by the app container. This can be easily done from the Docker dashboard.
Verifying Deployment:
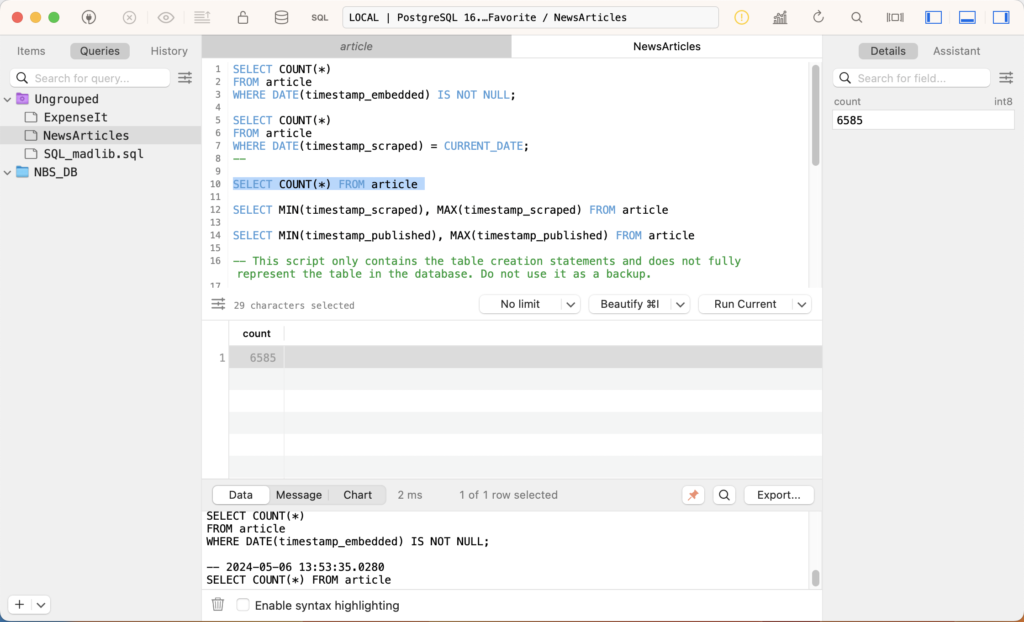
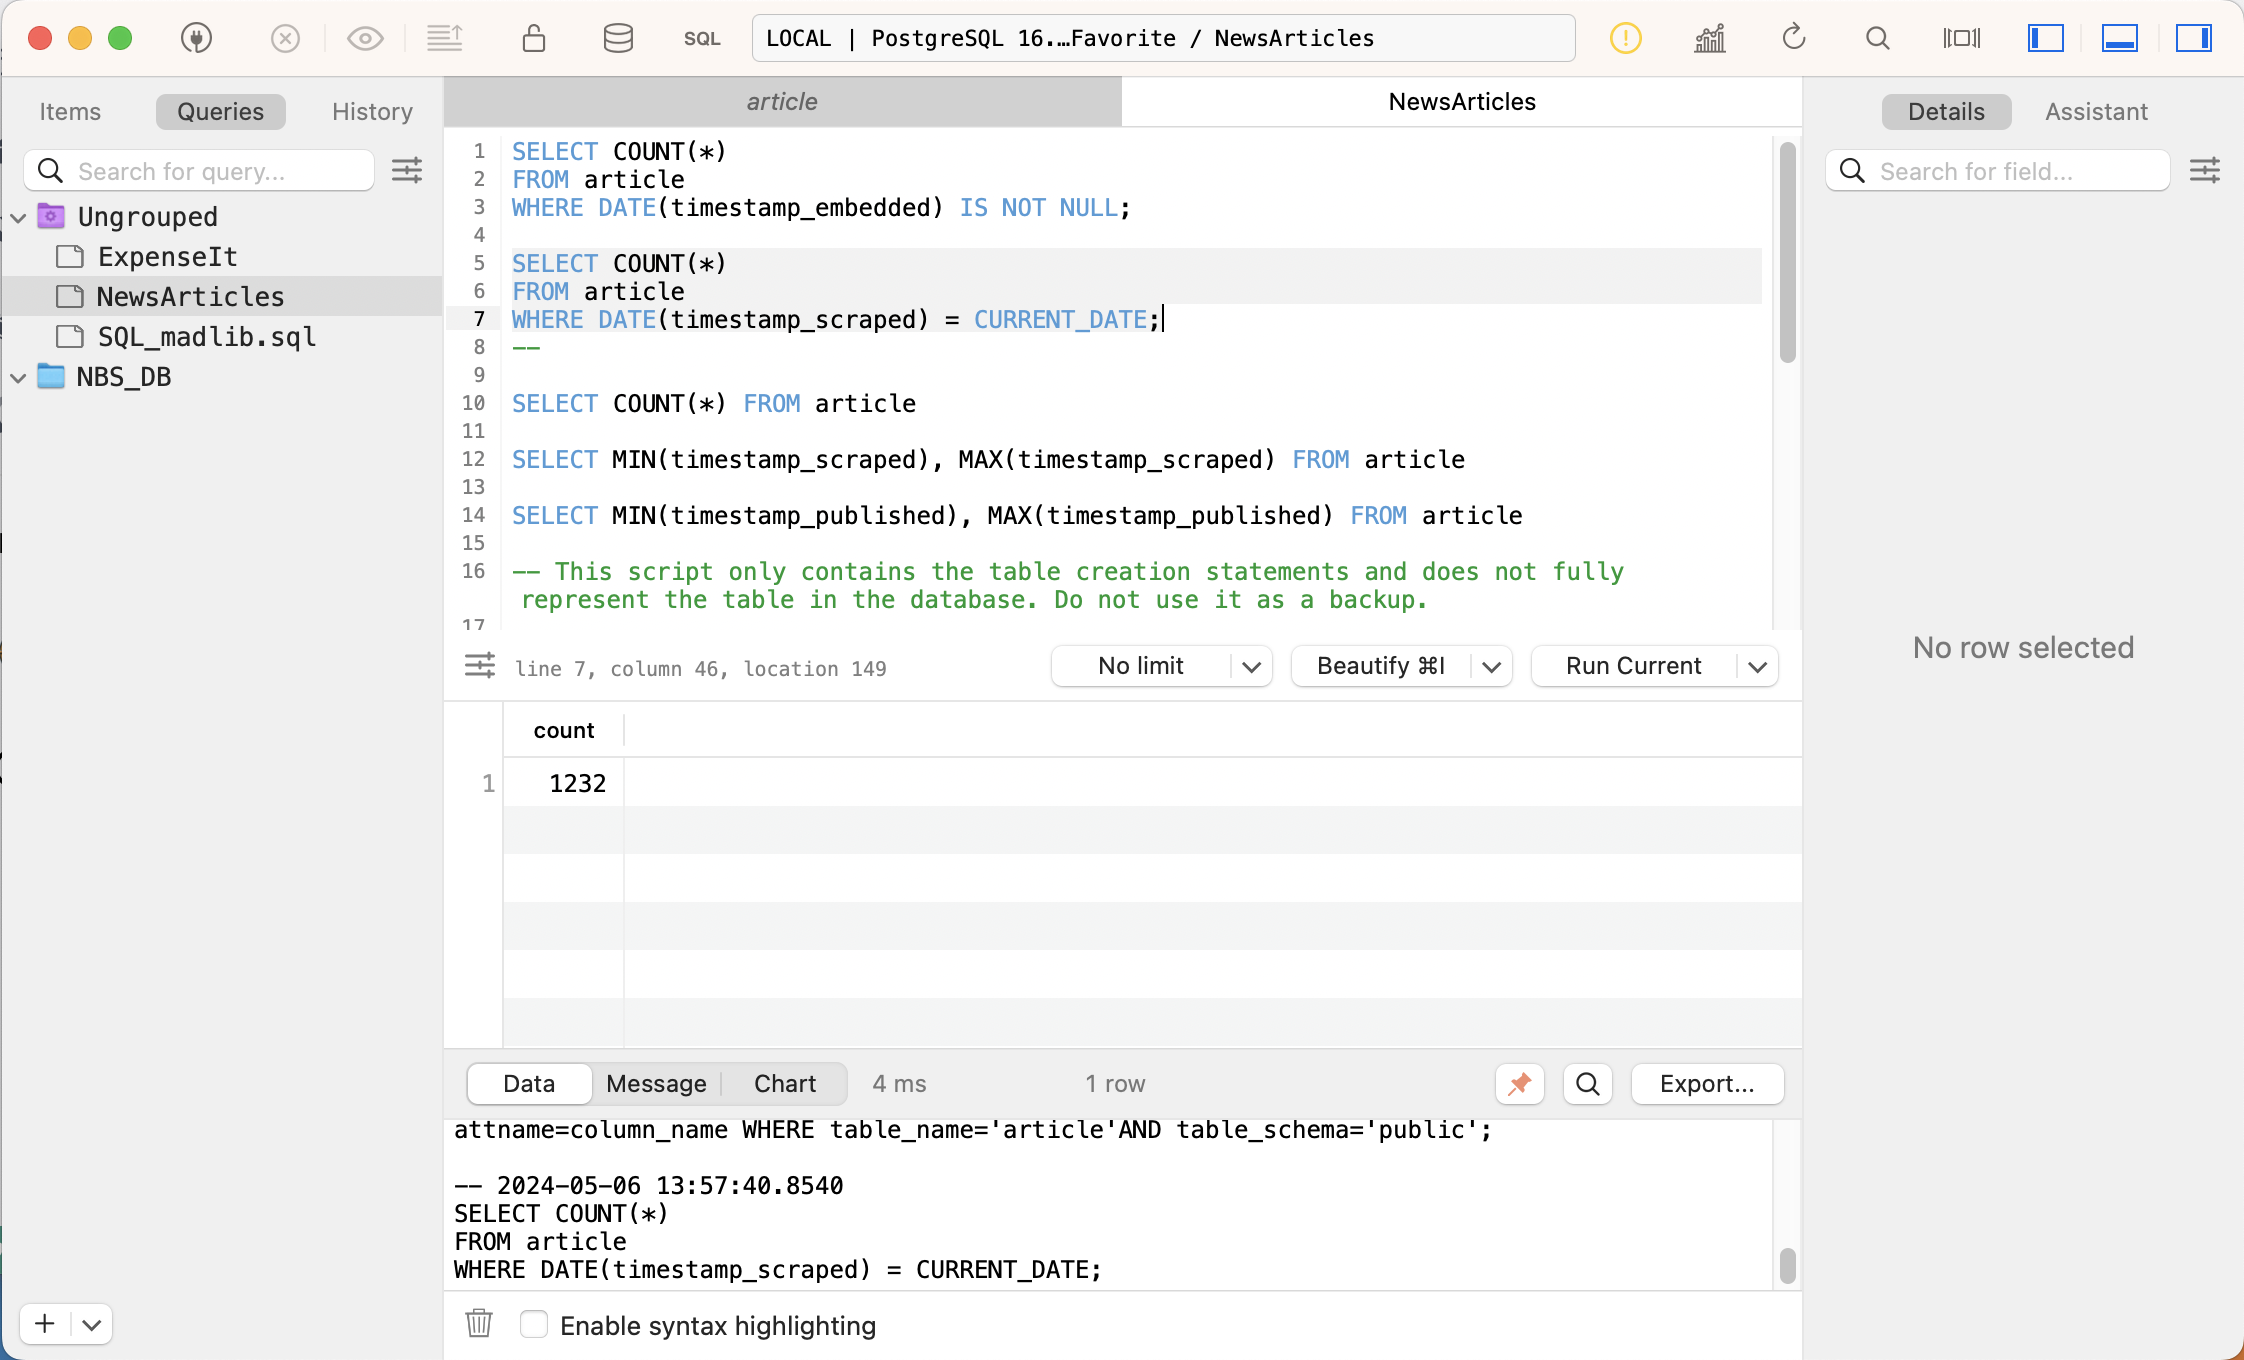
Verify the results by examining the Postgres database before and after running the microservice. Running SQL queries can confirm that the spider has successfully crawled web domains and added new records to the database.


The figures show that 1232 records were added in this instance.
Now shipping the code is as simple as docker push to post the images to docker hub followed by docker pull on the target machine.
Conclusion The Docker Revolution
With Docker, shipping code becomes a streamlined process. Docker encapsulates applications and their dependencies, ensuring consistency across different environments. By containerizing both the database and the Python app, we simplify deployment and guarantee reproducibility, ultimately saving time and effort.
In conclusion, Docker revolutionizes the way we ship and deploy code, making it an indispensable tool for modern software development.
Being in the AI profession is more than just coding neural networks. Getting them into the hands of customers demands a thorough understanding of contemporary microservices architecture patterns. Learn from experienced instructors who can be your guide through our comprehensive coaching program powered by FastAI. Gain insights into cutting-edge techniques and best practices for building AI applications that not only meet the demands of today’s market but also seamlessly integrate into existing systems. From understanding advanced algorithms to mastering deployment strategies, our Ph.D. instructors will equip you with the skills and knowledge needed to succeed in the dynamic world of AI deployment. Join us and take your AI career to new heights with hands-on training and personalized guidance.
