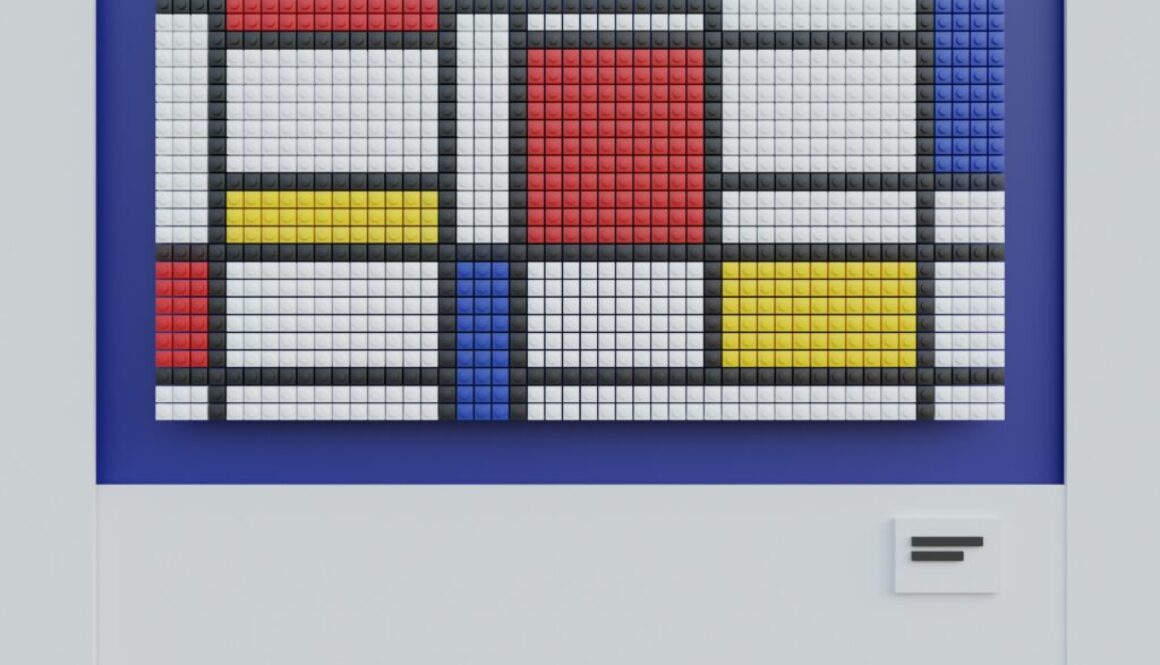
A Mondrianesque Masterpiece with App Layouts in AppInventor
In the world of app development, we often find ourselves humming to the tune of “Little boxes on the hillside, little boxes made of ticky tacky.” While our digital boxes may lack the charming hues of green, pink, blue, and yellow, they still bear a striking resemblance to their real-world counterparts.
You can find out more about this delightful song by folk singer-songwriter Malvina Reynolds on this wiki.
Little boxes on the hillside, Little boxes made of tickytacky
Little boxes on the hillside, little boxes all the same
There’s a green one and a pink one and a blue one and a yellow one
And they’re all made out of ticky tacky and they all look just the same.
These “ticky tacky” boxes are none other than the trusty rectangular frames called arrangements, the unsung heroes of screen design in App Inventor. Much like their physical counterparts, these arrangements serve as the foundation for organizing the various elements that make up your app’s user interface. It’s a simple concept but one that works wonders.
Within these rectangular frames, elements align themselves neatly, jostling for space from left to right in a horizontal arrangement. If you want to pile them up, just opt for the vertical arrangement. Buttons, labels, images, and other visual components can be neatly arranged using these building blocks.
But what if you prefer a bit of artistic flair? Don’t fret! When you choose not to employ an arrangement, elements will naturally stack up. Moreover, these arrangements can play nice with each other, nestling neatly within one another to create a more complex layout.

Take, for instance, the “Slideshow” app. It employs the default Screen layout so the image viewer, the row of buttons and the map component stack vertically. The first two have Height set to Automatic... and Width set to Fill parent.... These take up height to fit the contents. The last has the Height and Width both set to Fill Parent. This takes up the remaining available real estate. We only use HoriontalArrangement for the buttons which are stacked horizontally in a row. It’s like a choreographed dance of elements, all thanks to these arrangements.
One of the perks of this layout method is “relative dimensioning.” This means that you can specify the size of elements relative to their containers, all the way up to the outermost container—the screen itself. This ensures a consistent look across devices with different screen sizes, making your app appear polished and professional.
Despite its simplicity, AppInventor empowers creative minds to craft aesthetically pleasing arrangements with complex structures, much like the iconic works of Piet Mondrian. With the versatile use of horizontal and vertical arrangements, you can orchestrate a symphony of colors, shapes, and proportions, evoking the spirit of abstract art within the confines of mobile app design. Your Mondrian-inspired creation in AppInventor showcases the fusion of technology and artistic expression, proving that even the most unassuming tools can spark a touch of genius.
Readers with a background in web development may want to check out Jen Simmons blogpost on Mondrian layouts with CSS Grid.

For animations, AppInventor offers a Canvas component on which to arrange ImageSprite components. Find these in the Drawing and Animation drawer. These allow for shaping, positioning, and sizing animated characters and props on a backdrop in line with the requirements of animation. It’s a world of possibilities, but with a boundary—sprites are confined within the canvas perimeter, and only sprites can “live” there. We will delve more into animation with canvas and sprites in another blogpost.
Happy designing!
Do you have a brilliant app idea but feel overwhelmed, thinking it’s a task best left to computer wizards? It may be easier than you think. Our AppInventor course is here to demystify app development and empower you to turn your concepts into reality. Let our hands-on approach guide you through the process. Each week, you’ll design and build real apps, learning key concepts such as layouts discussed in this blogpost. By the end of the course, you’ll be equipped with the skills and confidence to bring your unique ideas to life. Join us, and discover the art of making apps, one step at a time.
