
Mindful Coding in Headless Mode a.k.a. Kit Out Your EC2 Instance With a Dockerized IDE
Headless Is Not a Blind Alley Developing with an IDE on AWS EC2
I acquired an EC2 instance on Amazon’s cloud for building Generative AI models, gaining access to a Tesla T4 GPU and ample GPU RAM for deploying a Large Language Model (LLM) for an app developed for an investment banking firm. Access to the EC2 instance is primarily through the terminal on my MacBook, which starkly contrasts with the familiar Visual Studio Code (VS Code) environment that offers convenient integrations with GitHub and Docker.
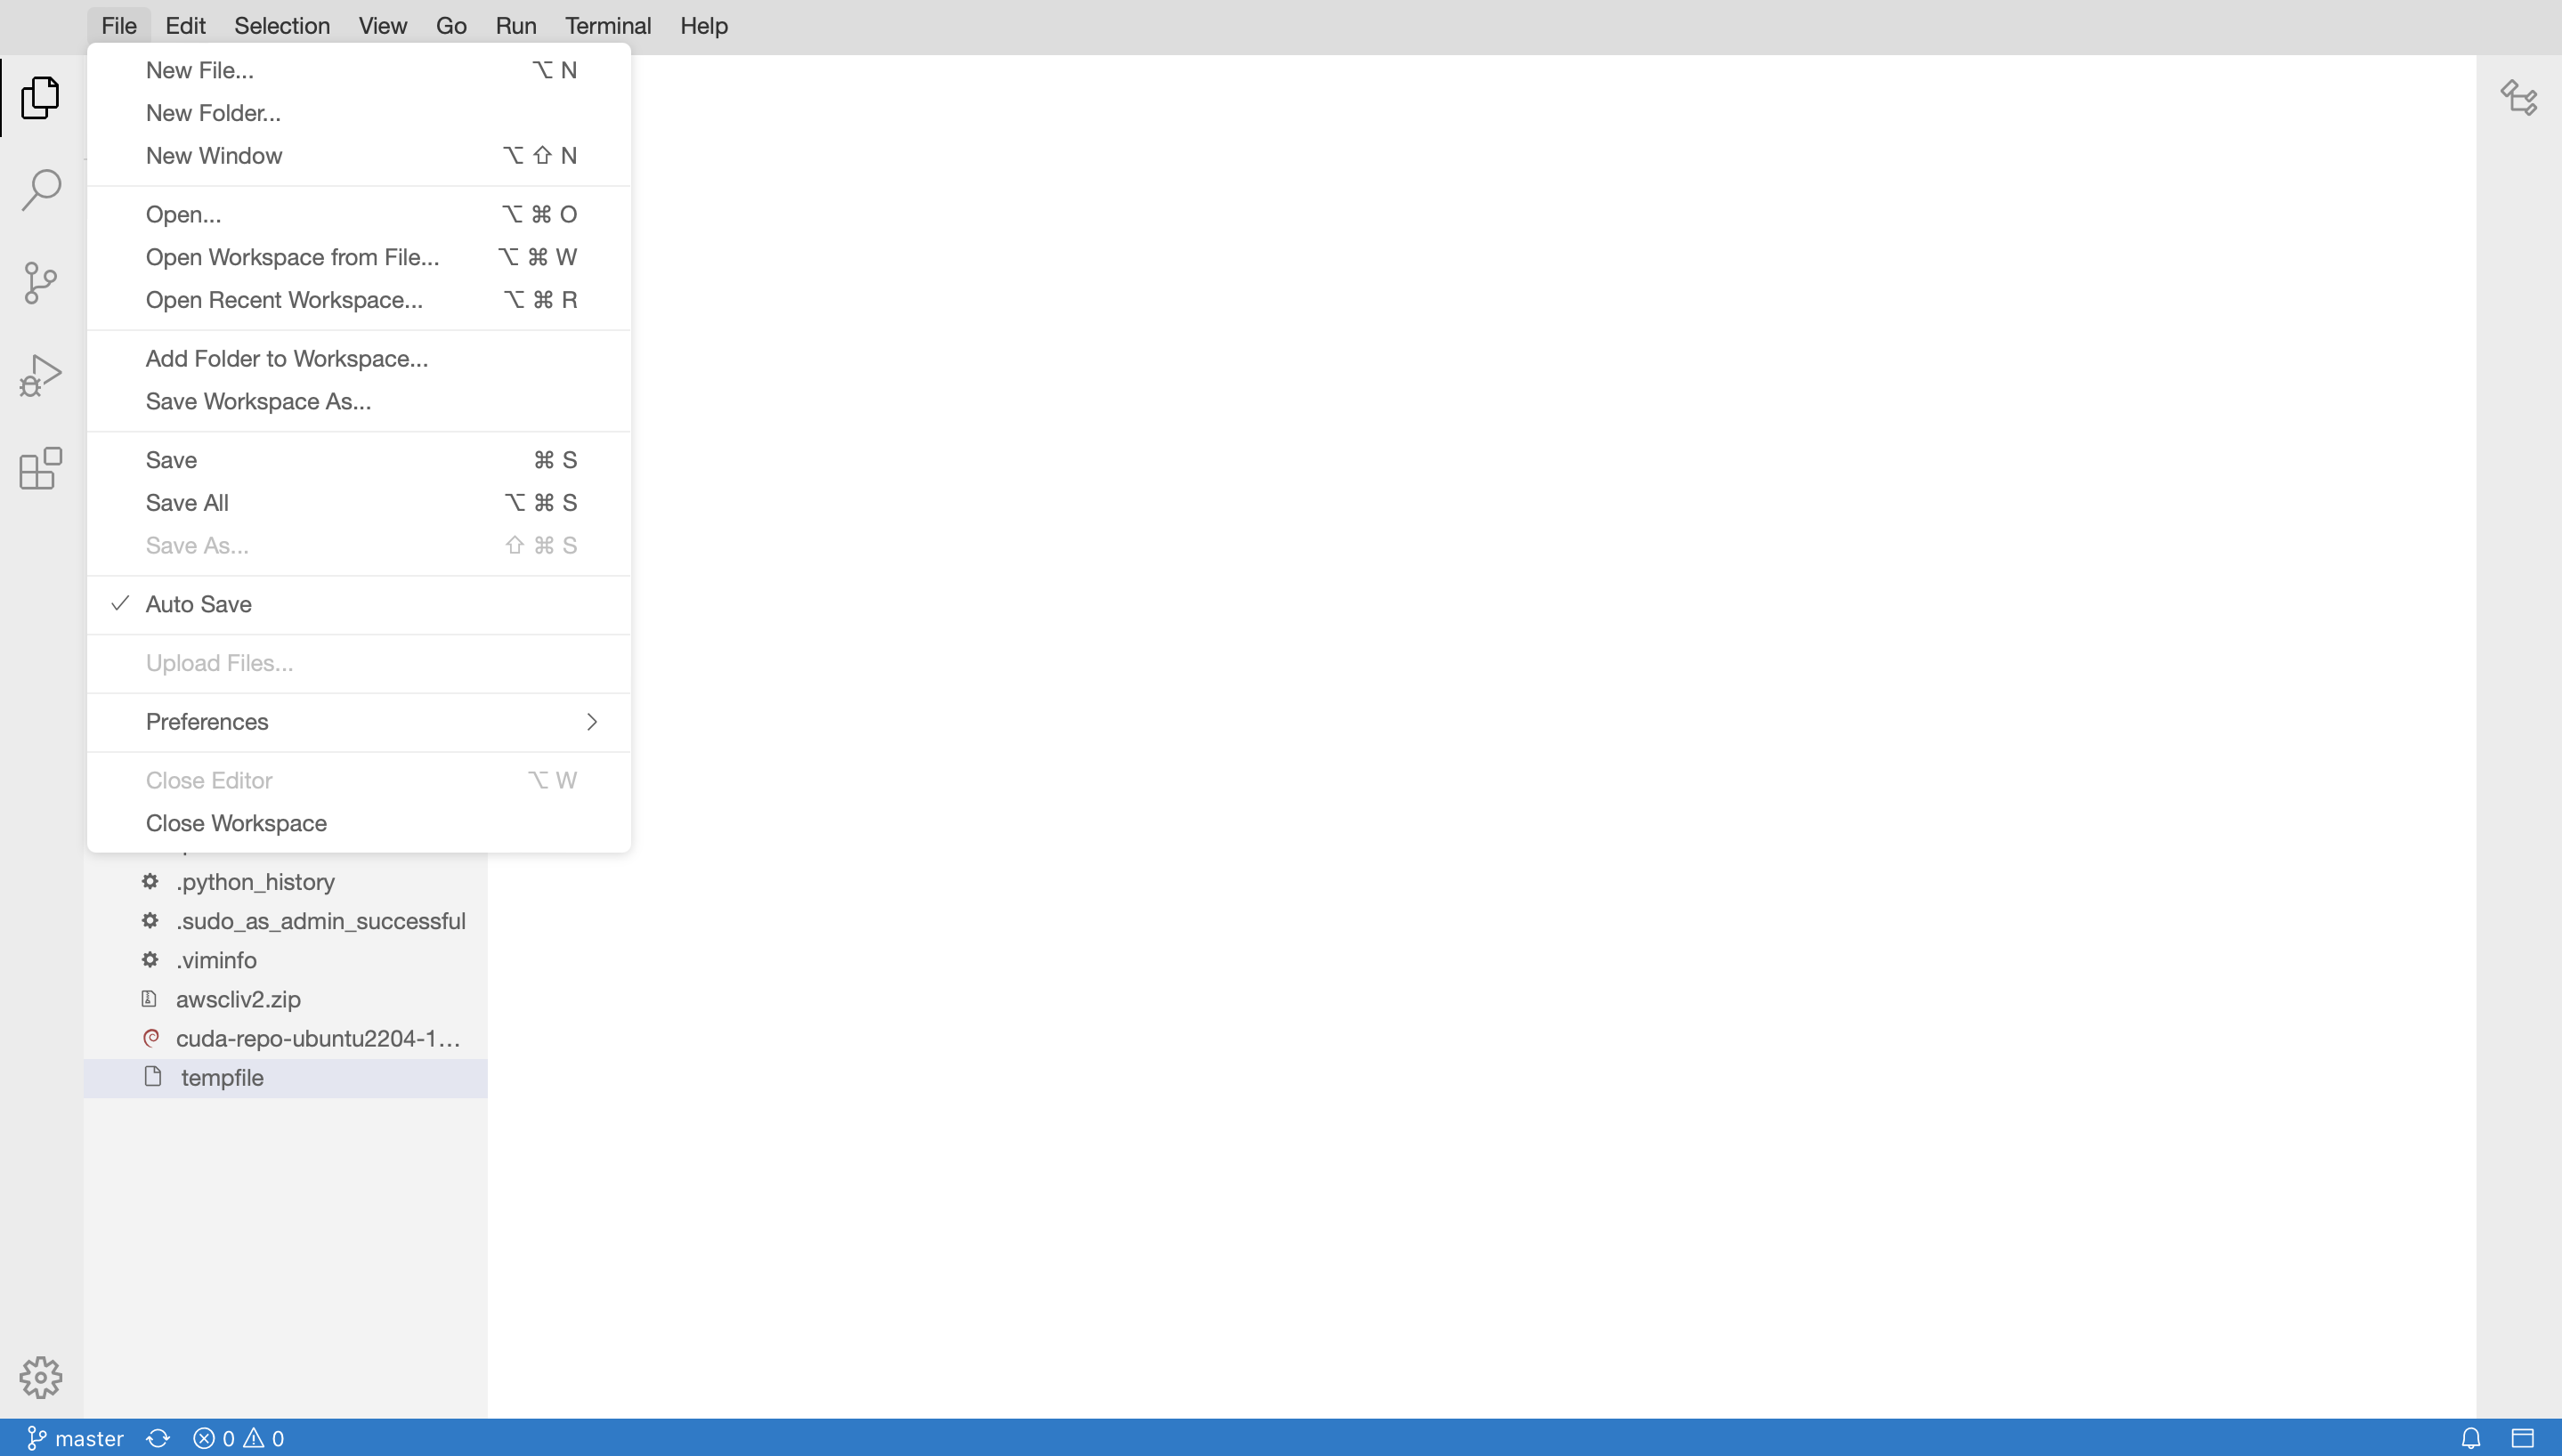
While the Command Line Interface (CLI) is a valuable tool for developers, it can be cumbersome for tasks that benefit from a more visual interface. For quick changes to code moved from development to production environments, the EC2 instance running Ubuntu 22.04 OS offered only the Nano editor. Though Nano is a perfectly good editor, I wanted something closer to VS Code. The solution? A light version of the Theia IDE in Docker, which perfectly met my needs.
Ports, Posts and Portability Expose ports on EC2 instance
To access the EC2 instance, I SSH into it from an open terminal on my MacBook, using a downloaded .pem file for authentication. The command is as follows
ssh -i ~/.ssh/secret.pem deusexmachina@45.245.72.29
A dockerized app typically listens for incoming requests at the host IP address on a specific port. When the app has a web UI, it can be accessed in a web browser using the IP address and port number, allowing access from any location on the web that can reach the IP address.
For our EC2 instance, we can find the required public IP address using AWS CLI. As for the port used by the app, we must ensure it is exposed to the public internet. We will use AWS CLI to check which ports are exposed to the public internet. If the required port is not exposed, we will use AWS CLI to expose it. Ensure you have AWS CLI installed on your computer; if not, follow the instructions here.
	aws ec2 describe-security-groups --group-ids sg-08x6bdf6x665XcxeX | \
jq '.SecurityGroups[0].IpPermissions[] | select(.IpRanges[].CidrIp == "0.0.0.0/0")'
The command retrieves information about a specific security group in AWS EC2 and uses jq to filter the results. Let’s break down each part of the command:
AWS CLI Command
aws ec2 describe-security-groups --group-ids sg-08x6bdf6x665XcxeX
aws ec2 describe-security-groups: This is an AWS CLI command used to retrieve details about one or more security groups.--group-ids sg-08x6bdf6x665XcxeX: This option specifies the security group ID for which details are being requested. In this case, the security group ID issg-08x6bdf6x665XcxeX.
This command outputs information about the specified security group in JSON format.
Piping to jq
| jq '.SecurityGroups[0].IpPermissions[] | select(.IpRanges[].CidrIp == "0.0.0.0/0")'
| jq: This pipe sends the output of theaws ec2 describe-security-groupscommand tojq, which is a command-line JSON processor..SecurityGroups[0]: This selects the first (and likely only) security group from the list of security groups returned by the AWS CLI command..IpPermissions[]: This iterates over each IP permission rule within the selected security group. Each security group can have multiple IP permission rules, which specify which IP ranges are allowed or denied access.select(.IpRanges[].CidrIp == "0.0.0.0/0"): Thisselectfunction filters the IP permission rules to find those that have an IP range (CIDR block) of0.0.0.0/0. The0.0.0.0/0CIDR block represents the entire IPv4 address space, indicating a rule that applies to all IP addresses.
Combining these parts, the full command performs the following actions:
- Retrieve Security Group Information: It fetches details about the security group with ID
sg-08x6bdf6x665XcxeXusing the AWS CLI. - Process JSON Output with
jq: It processes this JSON output to:
– Access the first security group in the list.
– Iterate over its IP permission rules.
– Filter these rules to select only those that allow access from any IP address (0.0.0.0/0).
Here is the JSON indicative of a rule allowing TCP traffic on port 22 (typically used for SSH) from any IP address.
	{
  "IpProtocol": "tcp",
  "FromPort": 22,
  "ToPort": 22,
  "IpRanges": [
    {
      "CidrIp": "0.0.0.0/0"
    }
  ],
}
What if the port we need is not open? Here is the command to open a port.
	aws ec2 authorize-security-group-ingress --group-id sg-08x6bdf6x665XcxeX \
	--protocol tcp --port 8081 --cidr 0.0.0.0/0
The aws ec2 authorize-security-group-ingress command adds an ingress rule to a specified security group. An ingress rule specifies the type of incoming traffic that is allowed to reach instances associated with the security group. We have used the command with options and arguments as follows:
--group-id sg-08x6bdf6x665XcxeX: This option specifies the ID of the security group to which you want to add the ingress rule. In this case, the security group ID issg-08x6bdf6x665XcxeX.--protocol tcp: This option specifies the protocol for the rule. Here,tcpindicates that the rule applies to the TCP protocol.--port 8081: This option specifies the port number to which the rule applies. In this case, it is port8081.--cidr 0.0.0.0/0: This option specifies the CIDR block (range of IP addresses) that is allowed by this rule.0.0.0.0/0represents all IP addresses, meaning the rule allows incoming traffic from any IP address.
Putting it all together, the command:
- Modifies the Security Group: It targets the security group with ID
sg-08x6bdf6x665XcxeX. - Specifies the Protocol: It applies to the TCP protocol.
- Defines the Port: It applies to port
8081. - Sets the IP Range: It allows traffic from any IP address (
0.0.0.0/0).
By running this command, we modify the specified security group to allow incoming TCP traffic on port 8081 from any IP address. In this way, we allow access to an application that is listening on port 8081 to users from anywhere on the internet.
Note on Security:
Allowing traffic from 0.0.0.0/0 means that the port is open to the entire internet. This can be a significant security risk. It is generally advisable to restrict the CIDR range to specific IP addresses or ranges that require access, rather than opening it up to all addresses.
Theia Use Case:
The Theia IDE runs as a web application that listens on port 3000. By running the command: aws ec2 describe-security-groups --group-ids sg-08x6bdf6x665XcxeX | jq '.SecurityGroups[0].IpPermissions[] | select(.IpRanges[].CidrIp == "0.0.0.0/0").FromPort', I found that port 3000 was among those open to TCP traffic. However, it was already in use by the web application Grafana. To resolve this, I decided to map port 3000 on Theia’s Docker container to port 3030 on the EC2 instance. I then ran the command to modify the security group, allowing HTTP (or any TCP) traffic to reach Theia on port 3030 from any IP address.
Let’s look at the installation process next.
Tango With Theia Installation with Docker
Here are the steps to install Theia:
- Pull the docker image:
docker pull t1m0thyj/theia-alpine - Spin up the docker container:
	docker run -d --init \
  --name theia_service \
  --restart always \
  -p 3030:3000 \
  -v /home/ubuntu:/home/project t1m0thyj/theia-alpine
The docker run command creates a container named theia_service and maps port 3030 on the EC2 instance to port 3000 on the container. The image t1m0thyj/theia-alpine is a lightweight version of the Theia IDE. With the container up and running, as verified by docker ps, we can access Theia using the URL http://45.245.72.29:3030 in a web browser. Here is what that looks like in Safari on my MacBook.
Using Docker to install Theia IDE on an AWS EC2 instance involves ensuring the container has the necessary permissions to create or update text files on the shared volume. The directory permissions must be correctly set, and it may be necessary to create a user on the container with the same UID/GID as the user on the host. This can be conveniently done with options and arguments passed to the docker run command.
Although the dockerized Theia running on EC2 was accessible this way, it did not allow creating or modifying files. In other words, it functioned as a read-only IDE!
Who Am I? User Write Permissions Issue
Using Docker to install Theia IDE on an AWS EC2 instance involves ensuring the container has the necessary permissions to create or update text files on the shared volume. The directory permissions must be correctly set, and it may be necessary to create a user on the container with the same UID/GID as the user on the host. Looking into the docker logs with the command docker logs theia_service on the EC2 machine, it became apparent that the container did not have sufficient permissions on the shared volume.
Ensure that the shared folder between the EC2 host and docker container has the correct ownership and permissions with the following commands:
	sudo chown -R ubuntu:ubuntu /home/ubuntu
sudo chmod -R 775 /home/ubuntu
Here, the logged-in user on the EC2 instance has name ubuntu. This can be verified by running the whoami command at the terminal prompt. Alternatively, use the $USER variable in the command like so: sudo chown -R $USER:$USER /home/ubuntu.
This alone wasn’t enough to fix the issue. Running the whoami command inside the Docker container from an interactive shell revealed the container user to be theia. The fix to the permissions error was to ensure that the container user theia has the same permissions as the instance user ubuntu. This is possible with a small modification to the options and arguments passed to the docker run command as follows:
	docker run --rm --init \
  --name theia_service_temp \
  -d -p 3030:3000 \
  -v /home/ubuntu/:/home/project \
  -u $(id -u ubuntu):$(id -g ubuntu) \
  t1m0thyj/theia-alpine
This command spins up a temporary container with --rm for testing the approach. The container is removed upon exit.
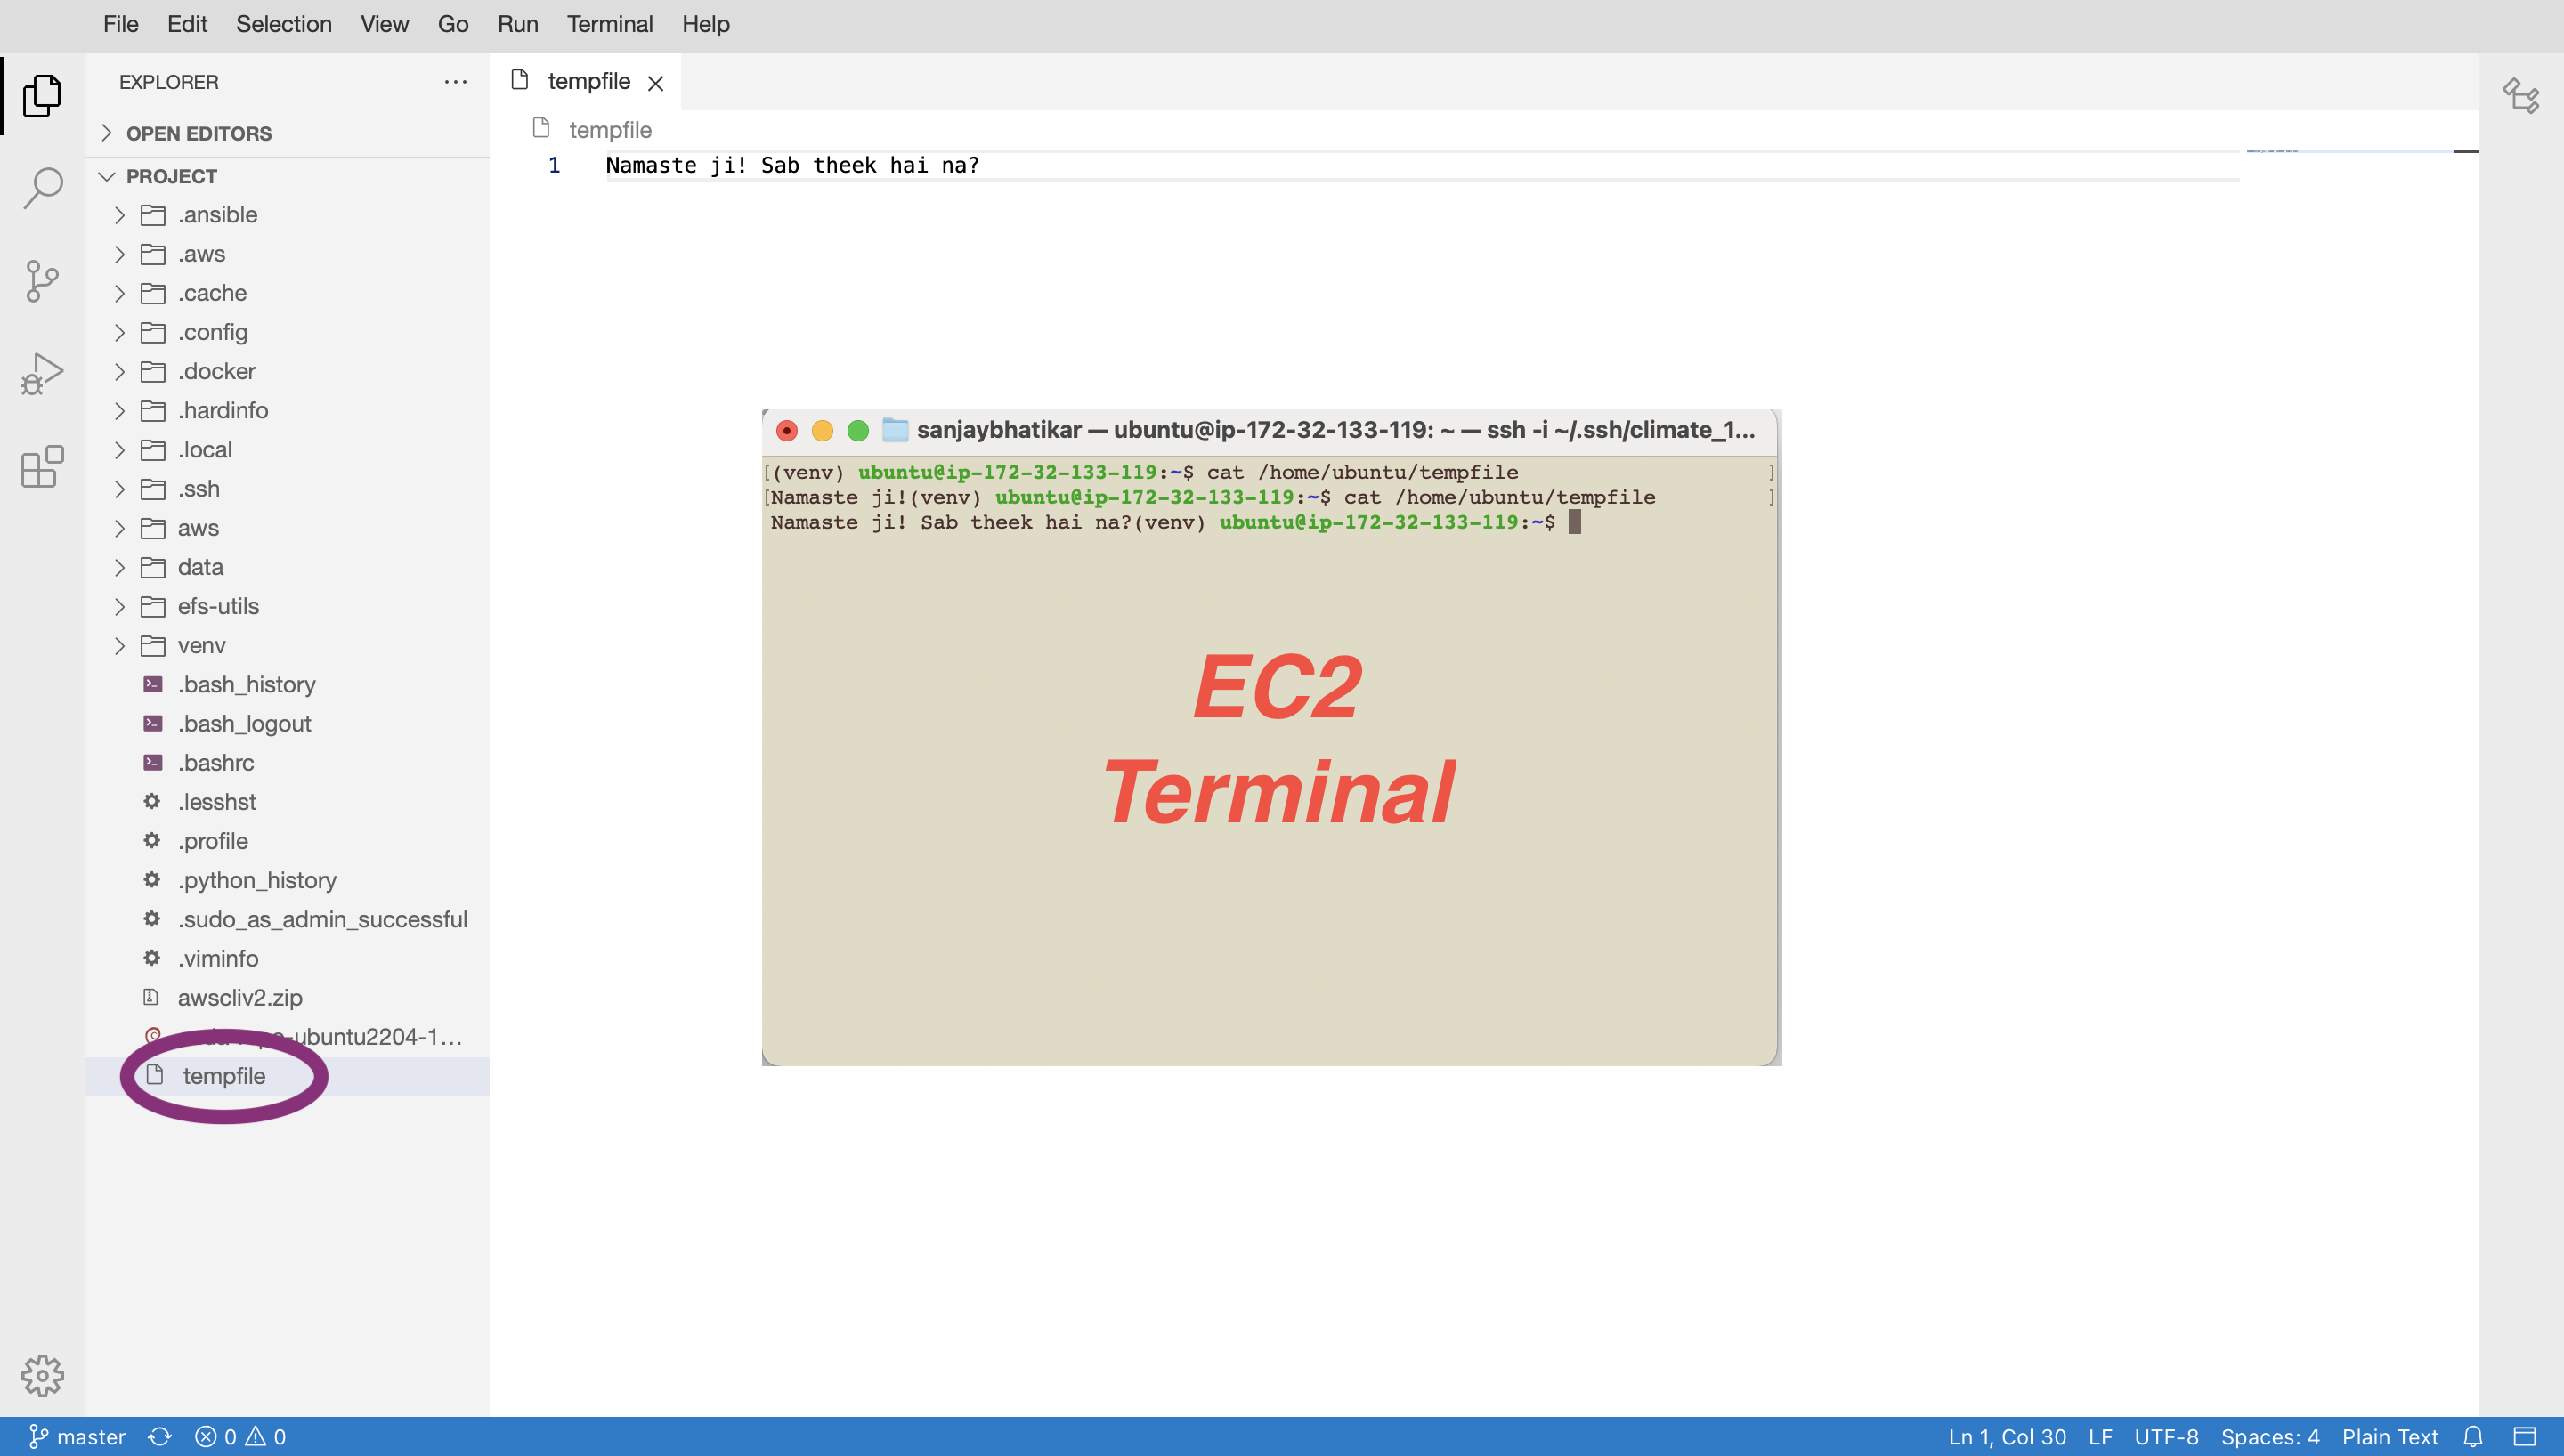
A tempfile was created using the IDE with content “Namaste ji!”. The changes were verified using cat \home\ubuntu\templfile on the host instance. Then the contents of the file were modified and changes verified. With this validation of the approach to fix the permissions error, the final docker run command was as follows:
	docker run --init \
  --name theia_service \
  --restart always \
  -d -p 3030:3000 \
  -v /home/ubuntu/:/home/project \
  -u $(id -u ubuntu):$(id -g ubuntu) \
  t1m0thyj/theia-alpine
Conclusions Key Takeaways
Going headless doesn’t mean having to forgo an IDE. With Docker, the installation process can be painless and fruitful.
Join our FastAI class to learn from experienced instructors who excel not only in building state-of-the-art models but also in tackling complex engineering challenges in real-world scenarios. Our instructors bring a wealth of expertise from successfully deploying applications that solve tangible problems and reach customers effectively. Through hands-on projects and personalized guidance, you’ll gain practical skills in AI and machine learning, ensuring you’re equipped to create impactful solutions in your career. Whether you’re aiming to advance your knowledge or pivot into a new field, our FastAI class offers the perfect blend of theoretical foundations and real-world application to help you succeed.